Import Monocle Scans into Reality Composer to create an AR animated Christmas card

Last Updated: 2025.Dec

Project Overview

In this guide, we'll create a Reality Composer AR scene that automatically aligns and animates on top of a physical Christmas card.

Check this guide and let's proceed together!

Why not download the files and give it a try!

What is Reality Composer?

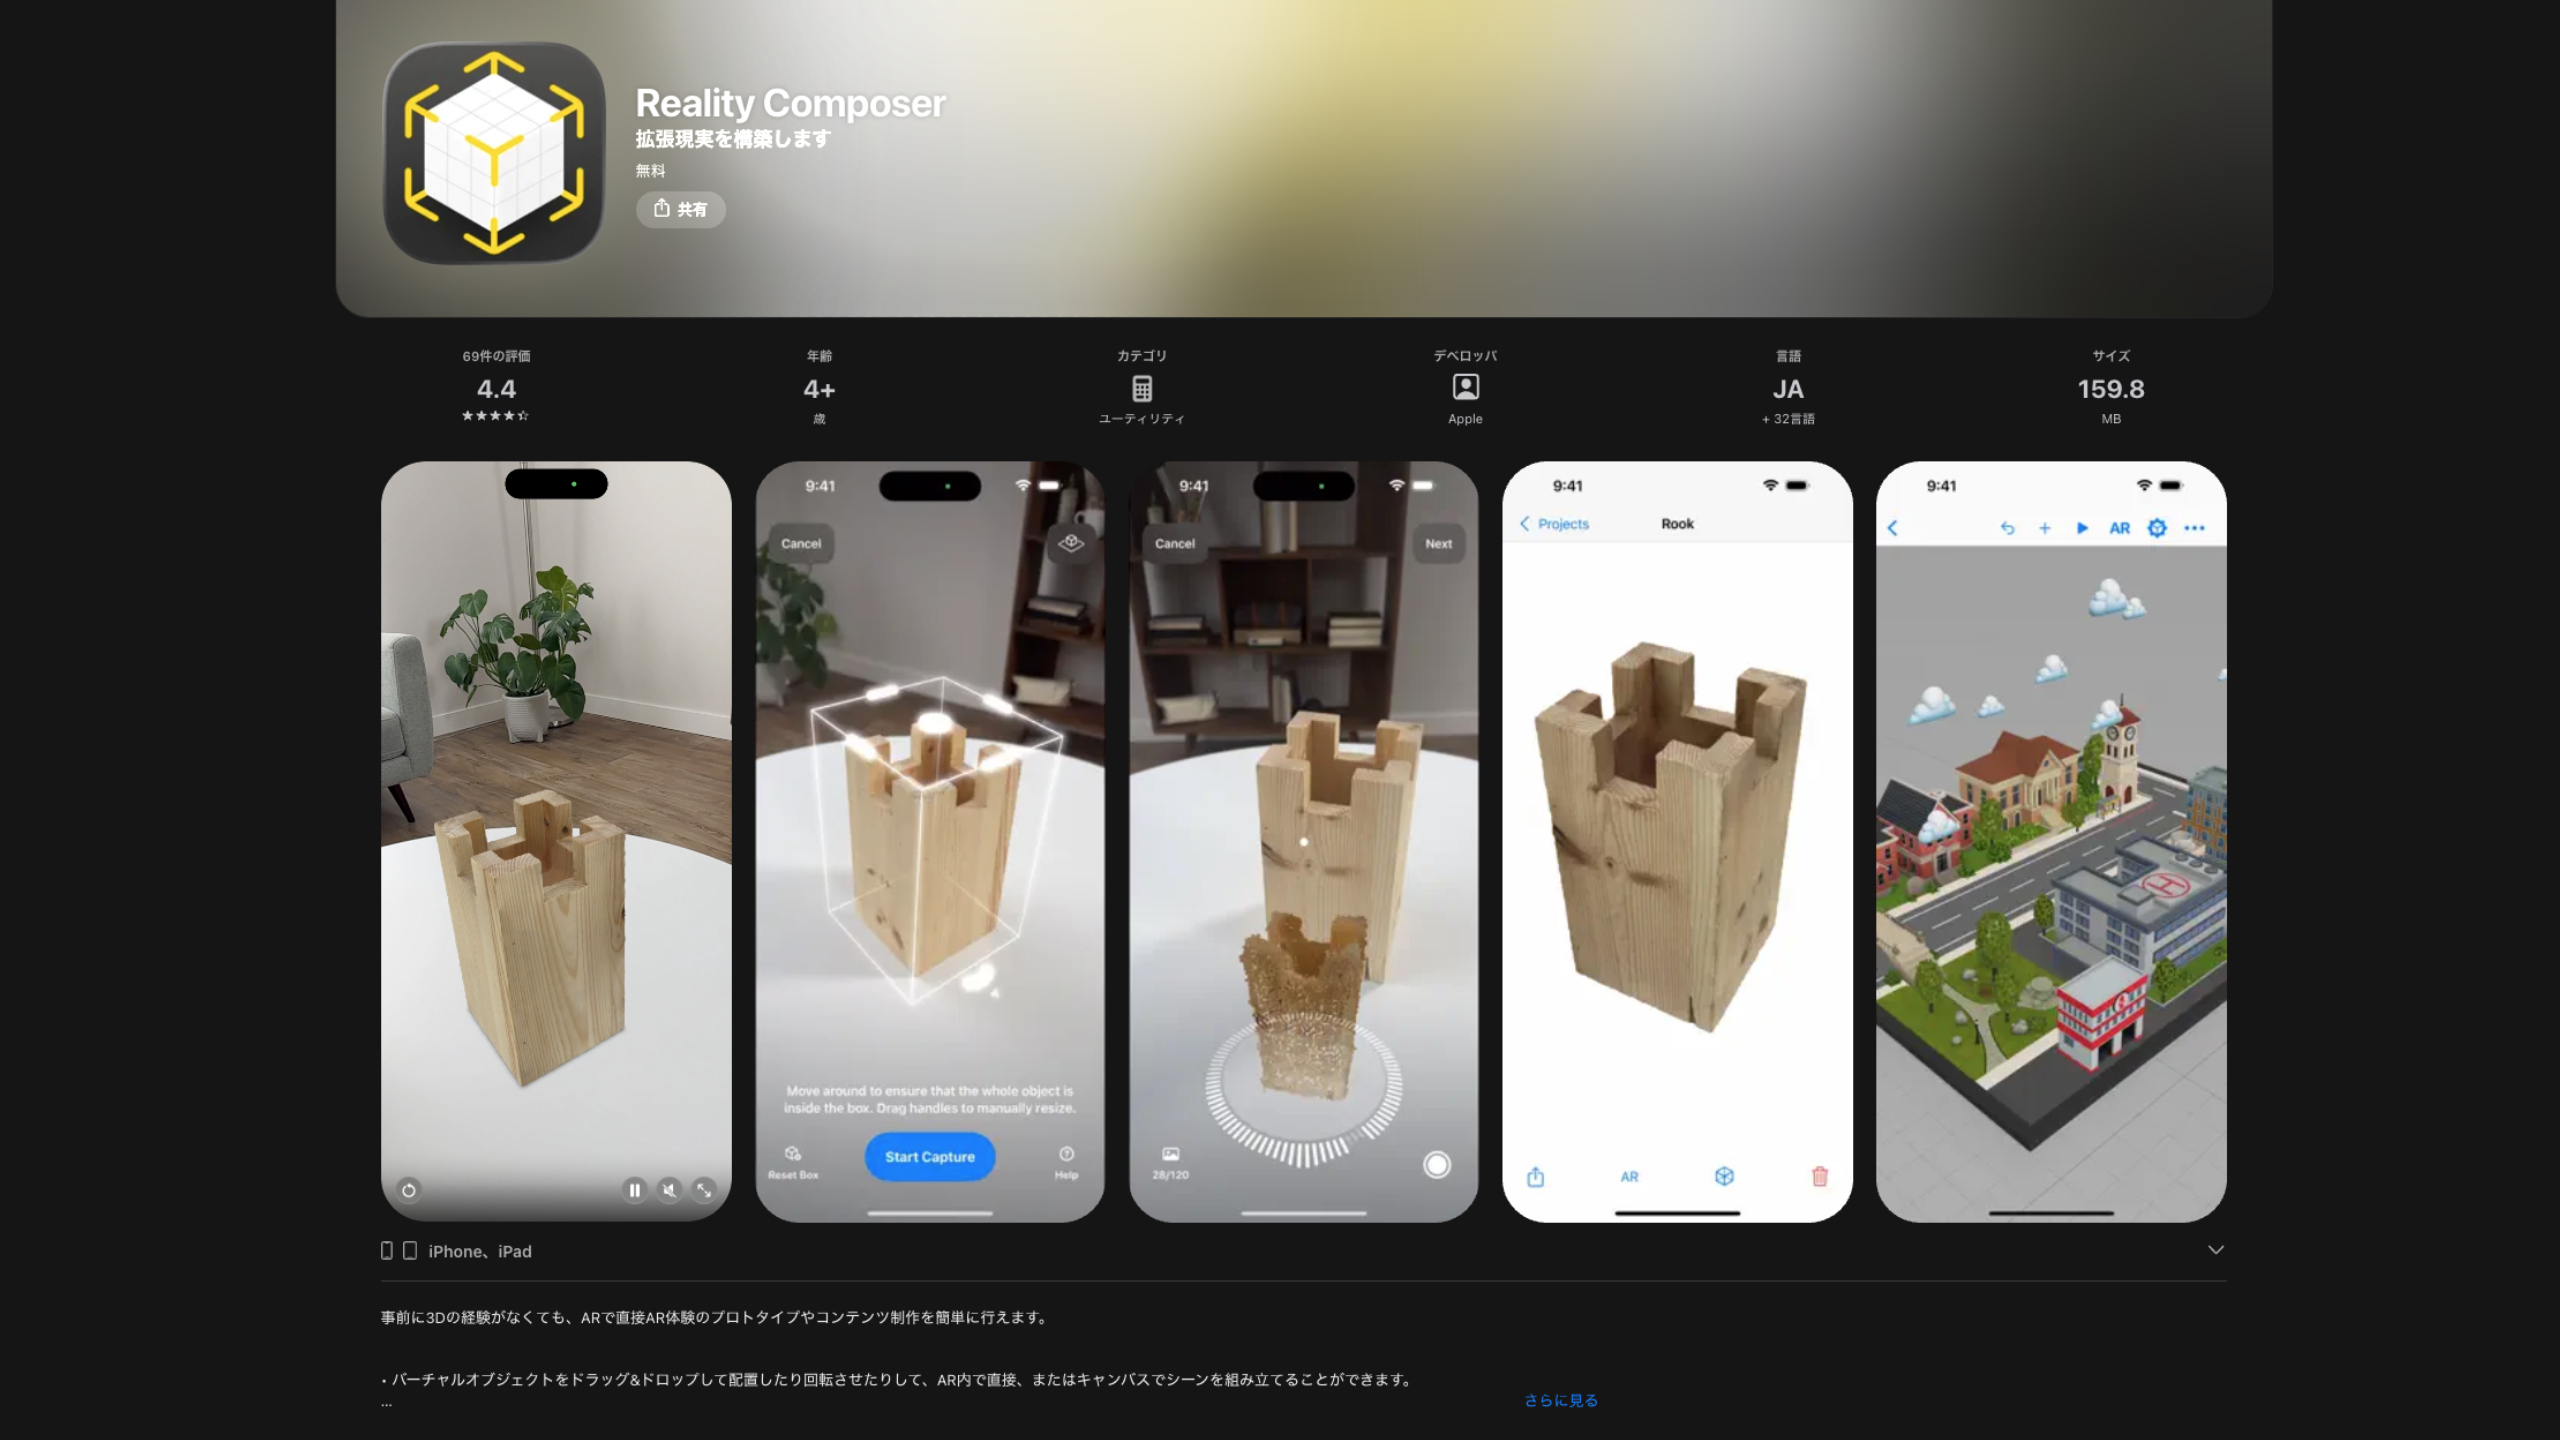
Reality Composer is Apple's intuitive AR creation tool for iOS.

It allows anyone—even without 3D experience—to build interactive augmented-reality scenes using simple drag-and-drop controls. You can place 3D objects, add animations, create behaviors, and preview everything in real-world space directly through your iPhone or iPad.

Reality Composer makes it easy to prototype AR experiences or prepare 3D content for apps built with RealityKit.

Tutorial: How to import Monocle Scans into Reality Composer

The content is explained step-by-step with accompanying images.

Step 1: Download USDZ file from Monocle Gallery

  • Go to Monocle Gallery on your computer and log in ( https://gallery.monocle3d.com/ )
  • Select the model you want to use
  • Press the USDZ file button to download

Step 2: Save USDZ file to iCloud drive

  • Go to iCloud on your computer and log in ( https://icloud.com/ )
  • Go to your iCloud drive
  • Upload your USDZ file downloaded from Monocle Gallery

Step 3: Download app

  • Go to App Store on your iPhone or iPad
  • Download Reality Composer app

Step 4: Open app

  • Open Reality Composer app
  • Tap 'continue' button

Step 5: Tap '+' button

  • Tap '+' button in the top right corner to create a new project

Step 6: Select Project Type

  • Select the anchor type, Image anchor.
  • Convert physical images such as business cards and artwork into digital anchors to create AR experiences.

Step 7: Allow camera access

  • Grant Reality Composer camera access for AR experience

Step 8: Delete default cube

  • Long-press or double-tap the default cube to display the menu, then select and tap 'Delete'.

Step 9: Prepare image

  • Prepare image assets for image anchor by photographing business cards or illustrations with a camera.
  • Save image to the file app or iCloud Drive

Step 10: Set up image assets

  • Tap 'Square box icon' on the top menu bar
  • Select image assets and set up image as an anchor

Step 11: load models

  • Tap '+' button on the top menu bar in the viewer
  • Tap the + in the content library and select the USDZ file downloaded from Monocle Gallery.
  • Once loaded, the model will appear next to the +, and select it.
  • Similarly, add a ball from the shapes in the content library.

Step 12: Duplicate balls

  • After adding the default ball, double-tap or long-press the ball, select 'Duplicate', and create several balls.
  • Tap the 'square box icon from the top menu bar and adjust the size and position of each ball.

Step 13: Add behaviour

  • Tap the '...' button on the far right
  • Tap '+' button to add behavior
  • Add Trigger and select 'Scene Start'

Step 14: Add animation

  • Add action and select 'Show'
  • Tap one ball to select the affected objects.
  • Select 'Move from top' in the Motion Type section
  • Duration sets a random speed
  • Select 'Move from Above' in the Motion Type section
  • Select 'Ease In / Ease Out' in the Ease Type
  • Create multiple balls with randomly set duration, keeping all other parameters identical.

Step 15: Set the Loop

  • Tap the' ... 'button in the top-right corner of the overlay screen to turn on the loop sequence.
  • By setting a loop, you can create a scene where snow continues to fall endlessly.

Step 16: Add star model

  • Tap '+' button on the top menu bar in the viewer
  • Select and tap a star from within the content library

Step 17: Adjust star position

  • Select the added star and tap it, then use the Gizmo to adjust the star's position.
  • Alternatively, select the star model, tap the 'square box icon' in the top bar menu, and manually set the Transform paramaters
  • Star rotation X-axis is set to 90 degrees

Step 18: Set the star appearance

  • Set the star model's material to 'Glossy Paint'
  • Set the star model's colour to yellow
  • Set the diameter to 15 centimetres
  • Set the thickness to 30 centimetres
  • Set the inset to 0.6

Step 19: Duplicate star models

  • Duplicate approximately six to seven star models
  • Position the duplicated star models, each resized randomly.

Step 20: Add animation

  • Tap the '...' button on the far right
  • Tap '+' button to add behavior
  • Add Trigger and select 'Scene Start'
  • Add action and select 'Emphasize'
  • Tap all stars to select the affected objects
  • Set duration 4.55 sec
  • Select 'Spin' in Motion Type
  • Select 'Basic' in Style

Step 21: Set the Loop

  • Tap the '...' button in the top-right corner of the overlay screen to turn on the loop sequence.
  • By setting the loop, the animation where all the stars gradually spin faster repeats.

Step 22: Add text model

  • Tap '+' button on the top menu bar in the viewer
  • Select and tap Text from within the content library

Step 23: Adjust text position and appearance

  • Adjust Thickness 48% and Font Size 7.58cm
  • Set Bronze as the text material
  • Move the text to the centre of the card

Step 24: Add sound

  • Tap the '...' button on the far right
  • Tap '+ 'button to add behavior
  • Add Trigger and select 'Scene Start'
  • Add action and select 'Play Ambiance'
  • Select Christmas background music in the audio clip
  • To add new BGM to Reality Composer, you need to create a .caf file. You can download the file converted from the free asset's mp4 file to .caf format.

Step 25: Enjoy AR Christmas card animation! (V)

  • Prepare the image registered as an anchor in the real world
  • Go to AR mode
  • As the scene begins, Christmas background music plays, with the words 'Merry Christmas!!' and a snowman appearing on the card. An AR animation shows snow falling randomly and continuously, while stars spin round and round.

Step 26: Resole the issue

  • The lighting in Reality Composer's AR mode is dim, resulting in models appearing dark. To resolve the issue of this model appearing dark, use the iPhone's Files app.
  • Go to your iPhone Setting app
  • Find Reality Composer app
  • Turn on 'Enable USDZ format export'

Step 27: Back to Reality Composer

  • Go back to Reality Composer app
  • Open your project
  • Tap the '...' button on the far right
  • Tap 'Export'

Step 28: Export USDZ File

  • Select 'Project'
  • Select 'USDZ' format
  • Tap the 'Export' button in the top-right corner

Step 29: Save to File

  • Scroll down to find 'Save to Files' and tap it.

Step 30: Save to Downloads folder

  • Enter a filename if necessary
  • Save to ' Downloads'

Step 31: Find the USDZ file

  • Open File app
  • Tap to 'Downloads' folder
  • Find the USDZ file and tap it

Step 32: AR Experience (V)

  • The AR viewer built into the iPhone launches
  • Tap to the AR button
  • Display models with AR animations anywhere!